Vehicle Fleet Manager 5.0
User's Guide
×

Create Inventory Locations

 
This article shows how to create inventory locations. This part is optional but it allows efficient and easy management of your parts inventory. This will allow you, among other things, to receive notifications when a part should be placed on order and to know precisely the physical location of your parts.
 
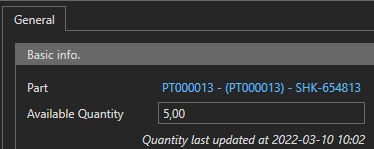
An inventory location is a physical location in one of your warehouses that can hold a single type of part. For example, bin 2 in row 5 of aisle B in the Phoenix warehouse contains part #ABC123. You can associate a part with each inventory location and modify it at any time.
 
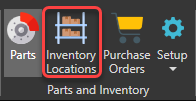
To access the inventory locations management window, in the "Parts and Inventory" section of the "General" tab, click on "Inventory Locations":
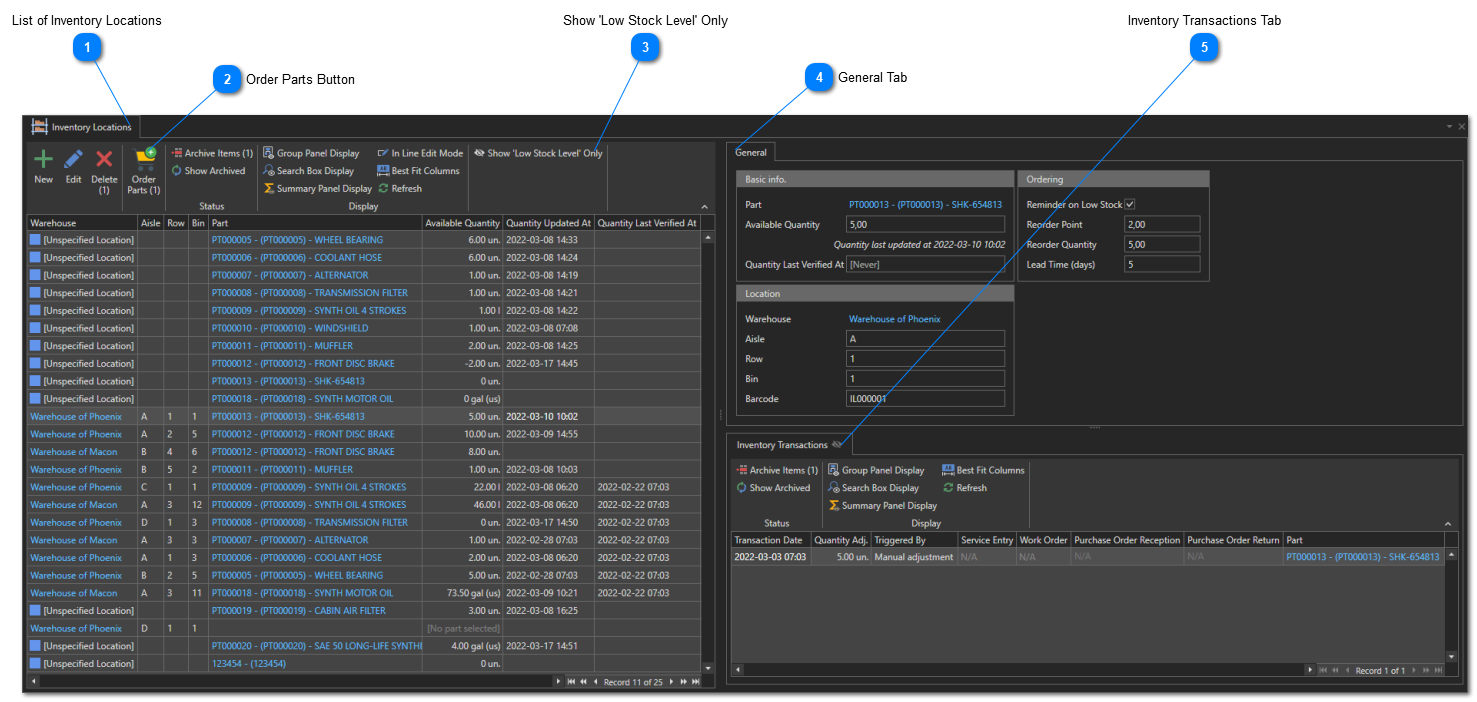
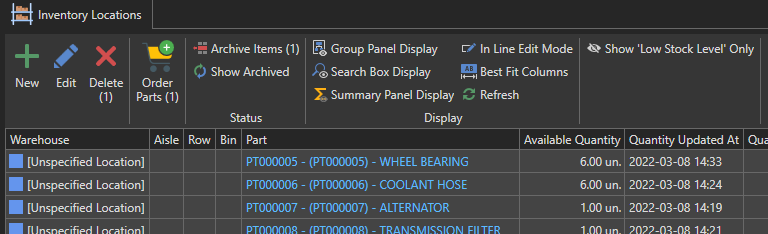
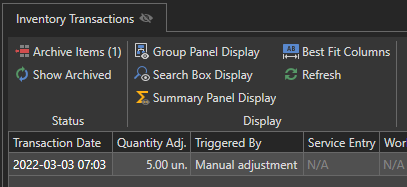
 
 
Create Inventory Locations
1

List of Inventory Locations

1. List of Inventory Locations
This list contains all currently existing inventory locations in Vehicle Fleet Manager 5.0
2

Order Parts Button

2. Order Parts Button
This button allows you to create an order for the selected inventory locations.
 
To create an order via this button, select one or more inventory locations from the list (selected locations must have a part associated to it) then click this button to initiate a new Purchase Order. A new order form will open. Enter information about the order. For example :

 
Click this button to save and close the purchase order's form:
 
The list of parts that will be added to the new purchase order will be displayed. Enter the quantities you wish to order for each part and press "OK":
3

Show 'Low Stock Level' Only

3. Show 'Low Stock Level' Only
When an inventory location has reached the reorder point, a small red square will be displayed to the right of the quantity in the list of inventory locations:
 
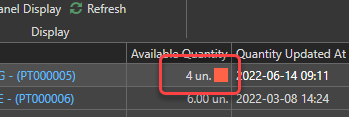
This button allows you to display only inventory locations for which the quantity has reached the reorder point.
4

General Tab

4. General Tab
This tab displays information about the inventory location currently selected in the list of inventory locations.
5

Inventory Transactions Tab

5. Inventory Transactions Tab
This tab contains the list of transactions performed on the currently selected inventory location. A transaction can originate from various actions:
  • Adding a part to a service entry.
  • The reception of a part via the Purchase Orders module.
  • The return of a part to the vendor via the Purchase Orders module.
  • A manual adjustment, made by modifying the "Available Quantity" value of the inventory location.
 
Use the "New" button to open a new inventory location form:
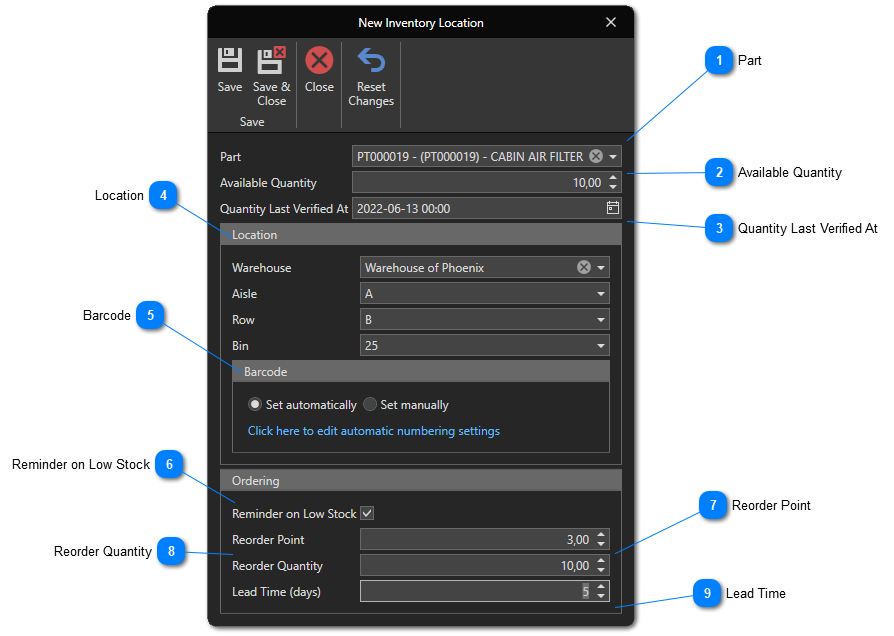
 
Create Inventory Locations
1

Part

1. Part
Optional. Select the part currently stored in this inventory location. Whenever you want, you can change the part associated with this inventory location by modifying it here.
2

Available Quantity

2. Available Quantity
Optional. Enter the quantity of this part that is currently stored in the inventory location.
3

Quantity Last Verified At

3. Quantity Last Verified At
Optional. Enter the date when the available quantity was last verified in this location.
4

Location

4. Location
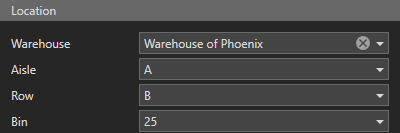
Enter the physical location of inventory location. Four components form the designation of the physical location:
  • L'Warehouse. This field is required. See this article for details on the creation of warehouses.
  • Aisle. Optional. The aisle of the warehouse within which the inventory location is located.
  • Row. Optional. The row inside the aisle or warehouse in which the inventory location is located.
  • Bin. Optional. The bin.
5

Barcode

5. Barcode
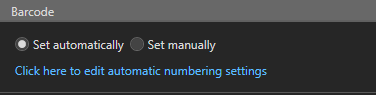
Optional. Indicate the barcode you want to use for this part.
 
There are two possible options for determining the barcode:
1. Set Automatically : The barcode will be determined automatically according to the automatic numbering settings. To change automatic numbering settings, click . See this article to learn how to configure automatic numbering settings.
2. Set Manually : A box will appear where you can enter the barcode manually.
6

Reminder on Low Stock

6. Reminder on Low Stock
Check this box if you want to enable daily notifications when the stock level of this inventory location reaches the reorder point. A daily email containing the parts to order will be sent to users who have subscribed to the "Parts in Low Stock Level - Daily Summary" notification.
7

Reorder Point

7. Reorder Point
Enter the low stock level limit where the part in this inventory location should be reordered. When the quantity in this location drops to this threshold, a small red square will be displayed to the right of the quantity in the list of inventory locations and a notification may be sent when the option "Reminder on Low Stock" is enabled:
8

Reorder Quantity

8. Reorder Quantity
Enter the quantity to order when ordering parts for this inventory location.
9

Lead Time

9. Lead Time
Enter the approximate number of days for the delivery of parts ordered for this inventory location.
 
Click this button to save and close the inventory location's form: