Create Parts
This article shows how to create parts, which will be the foundation of your inventory management. The parts can be added to your service entries, allowing you to have a follow-up of the parts installed on your vehicles, indications on the guarantees and follow your expenses by vendor, by vehicle, etc.
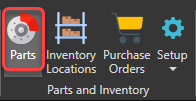
To access the parts management window, in the "Parts and Inventory" section of the "General" tab, click on "Parts":
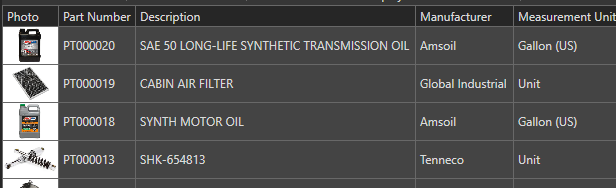
The parts management window will appear:
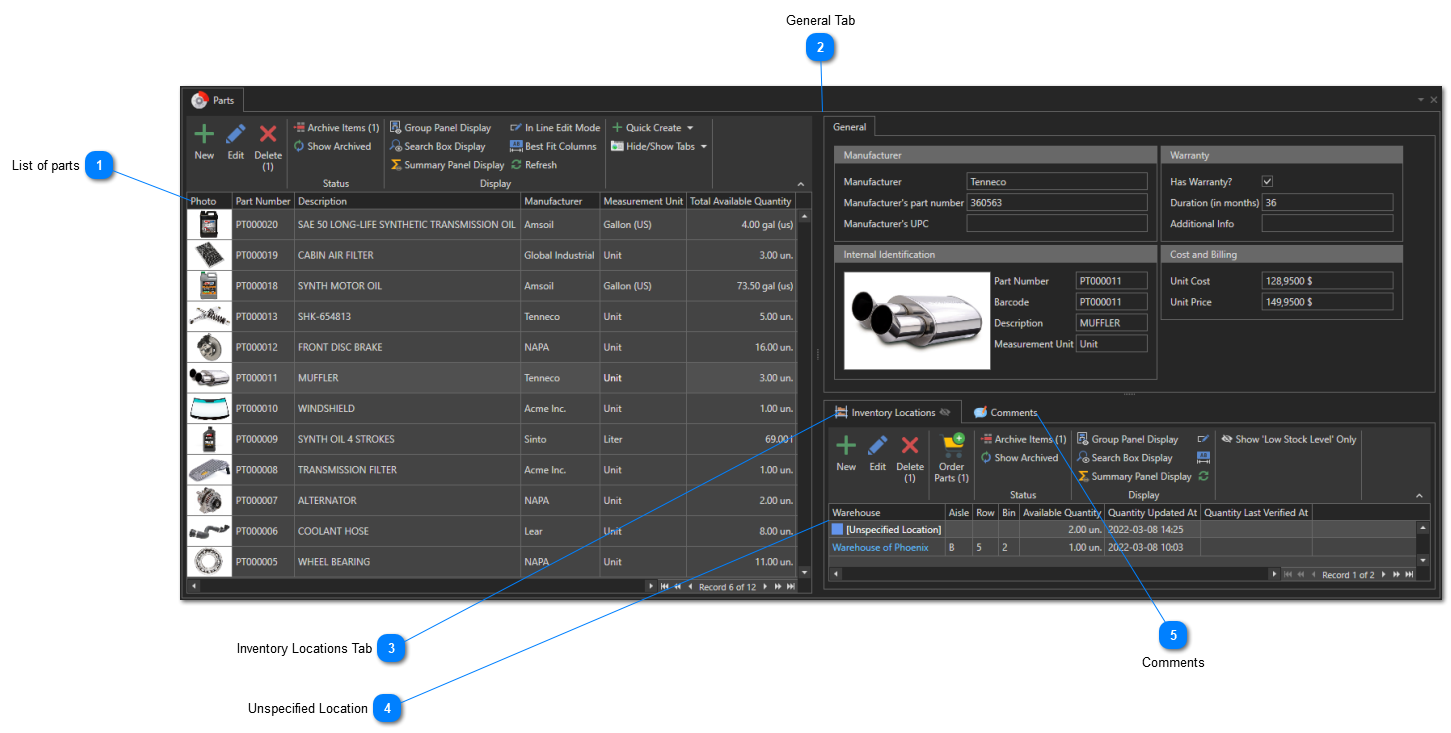
Inventory Locations Tab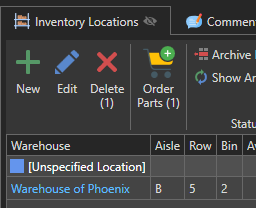 This tab contains the list of inventory locations where the part currently selected in the parts list can potentially be stored. An inventory location is a physical location in one of your warehouses that can hold a single type of part. For example, bin 2 in row 5 of aisle B in the Phoenix warehouse contains part #ABC123. See this article for details on creating inventory locations.
|
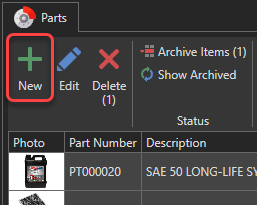
Use the "New" button to open a new part form:
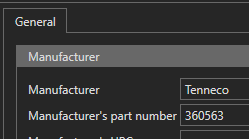
Enter information about the part:
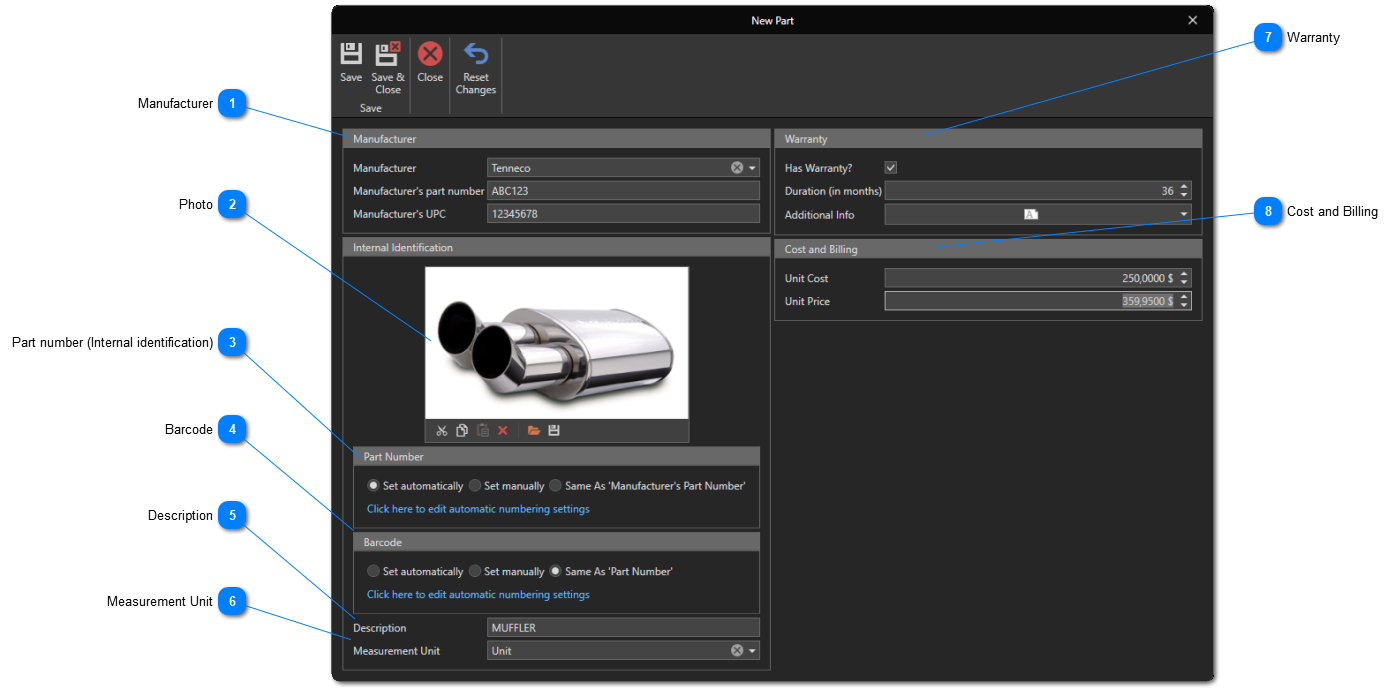
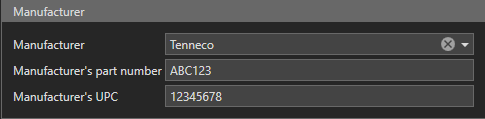
Part number (Internal identification)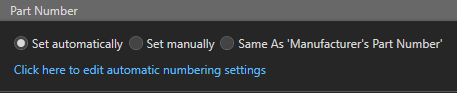 Indicate the part number you want to use for this part internally. This number must be unique.
There are three possible options for determining the part number:
1. Set Automatically : The part number will be determined automatically according to the automatic numbering settings. To change automatic numbering settings, click 2. Set Manually : A box will appear where you can enter the part number manually.
3. Same As 'Manufacturer's part number' : The part number will be the same as the one entered in the 'Manufacturer's part number' field.
|
Barcode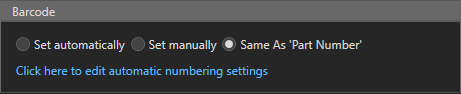 Optional. Indicate the barcode you want to use for this part.
There are three possible options for determining the barcode:
1. Set Automatically : The barcode will be determined automatically according to the automatic numbering settings. To change automatic numbering settings, click 2. Set Manually : A box will appear where you can enter the barcode manually.
3. Same As 'Part Number' : The barcode will be the same as the part number entered in the 'Part Number' field.
|

Click this button to save and close the part's form: