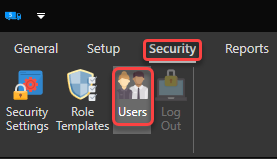
To modify the roles of a user, access the user management window by clicking on the "Security" tab then on the "Users" button:
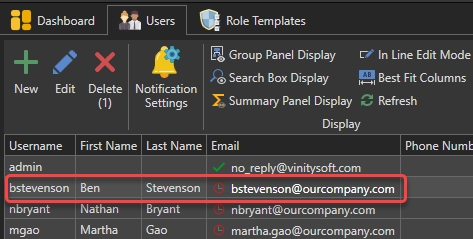
Then, double click the user for whom you want to modify the roles. For this example, we will use the user "Ben Stevenson":
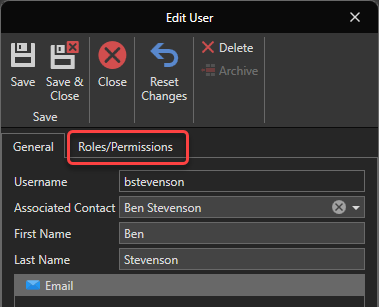
The user form will open. Click on the "Roles/Permissions" tab:
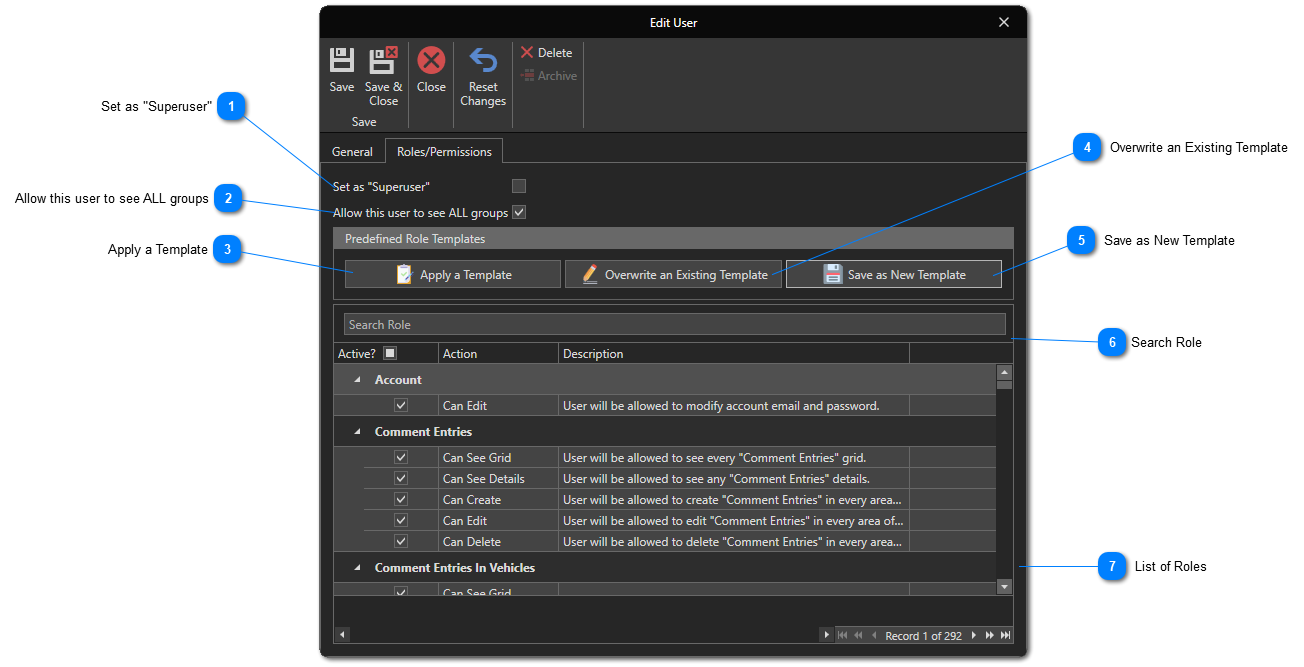
Set as "Superuser"
You can define the user as a "Superuser". Just like the special user 'admin', the users "Superuser" have access to all the functionalities of the software.
When this option is selected, the user has access to the vehicles and contacts of all groups. When it is not selected, the user has access only to vehicles and contacts belonging to the groups assigned to him. User roles still apply. See the article on how to manage groups for details.
Use this button to save the list of currently selected roles as a new role template. You will be able to reuse this role template for another user later.
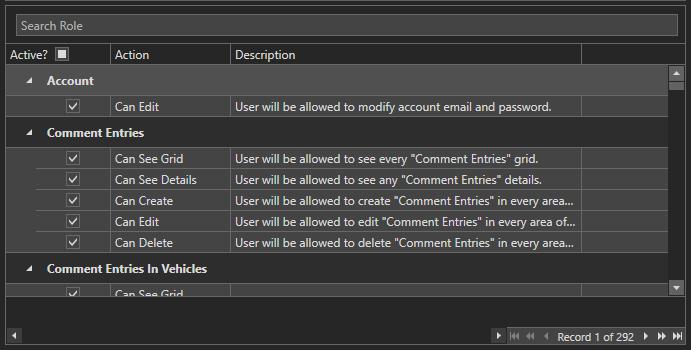
This list contains all available roles, grouped by role type. In the example, we can see the role type "Comment Entries". This list contains the following columns:
Active : Indicates if the role is currently active for the current user.
Action : Specifies the action controlled by this role. The most common role actions are:
"Can See Grid" : Indicates whether the user can display the list or grid containing the data related to the type of roles.
"Can See Details" : Indicates if the user can display the detailed form of the type of roles (in this case, a "Comment" form)
"Can Create" : Indicates whether the user can create this type of item.
"Can Edit" : Indicates whether the user can edit this type of item.
"Can Delete" : Indicates whether the user can delete this type of item.
Description : Where necessary, provide more detail on the function of the role.