Create And Manage Groups
This article will walk you through creating and setting up groups.
Groups allow you to divide your vehicles and/or contacts, thus allowing you to limit the access of your users to certain vehicles or contacts, as well as to generate reports by group. Access to data associated with vehicles/contacts will also be controlled by the groups. For example, if a user does not have access to a given vehicle, he will also not have access to maintenance, refueling, inspections, etc. of this same vehicle.
See this article to learn how to configure a user so that he only has access to the groups assigned to him rather than having access to all groups.
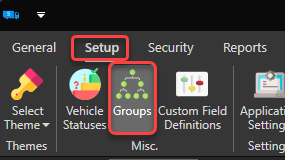
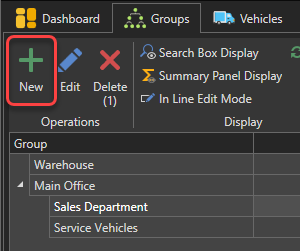
To access the groups window, click on the "Setup" tab then on the "Groups" button:
In this article
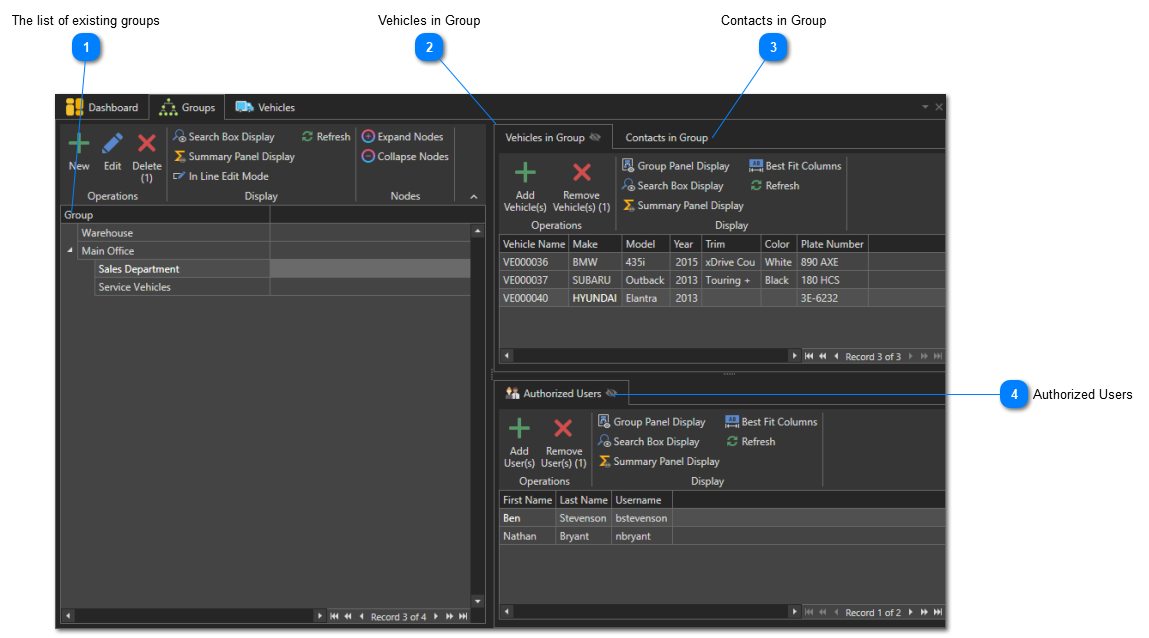
Authorized Users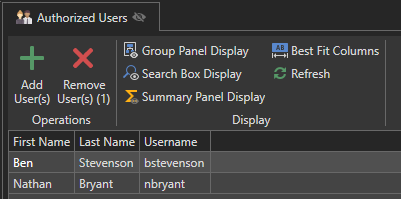 The "Authorized Users" tab contains the list of users authorized to access the vehicles and/or contacts of the group currently selected in the list of groups.
|
To create a new group, click on the "New" button at the top of the list of groups:
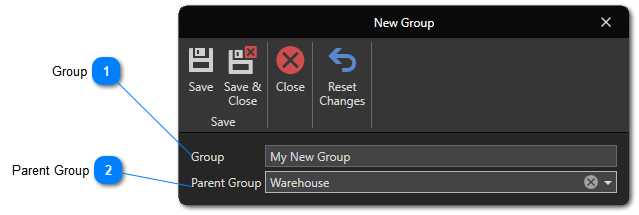
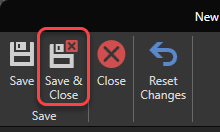
Click this button to save and close the the new group' form:
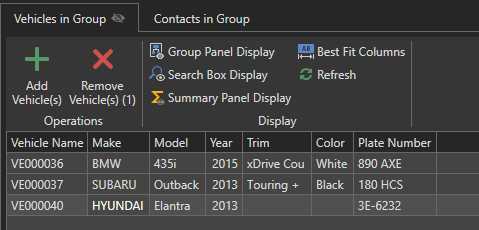
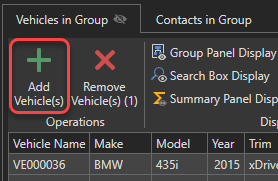
To associate one or more vehicles to a group, select the group to which you wish to add vehicles then click on the "Add Vehicle(s)" button at the top of the list containing the vehicles of the selected group:
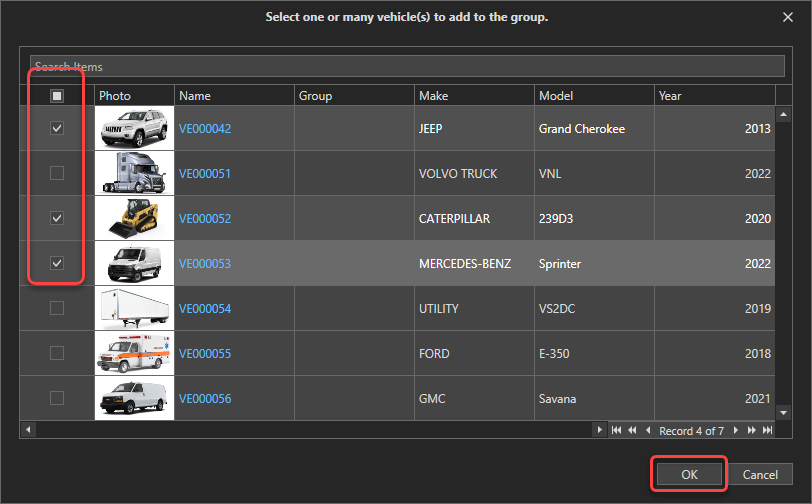
The list of vehicles not already associated with a group will appear. Check the vehicles you want to add to the group then click "OK":
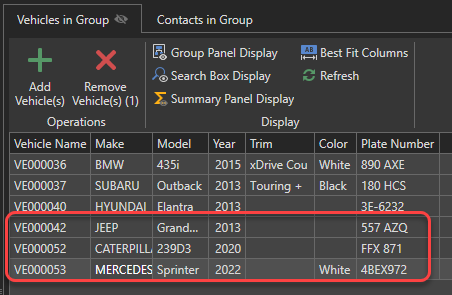
These vehicles are now part of the group:
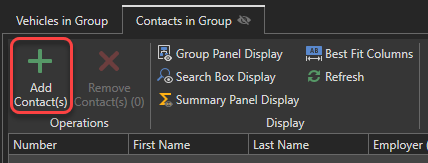
To associate one or more contacts to a group, select the group to which you wish to add contacts then click on the "Add Contact(s)" button at the top of the list containing the contacts of the selected group:
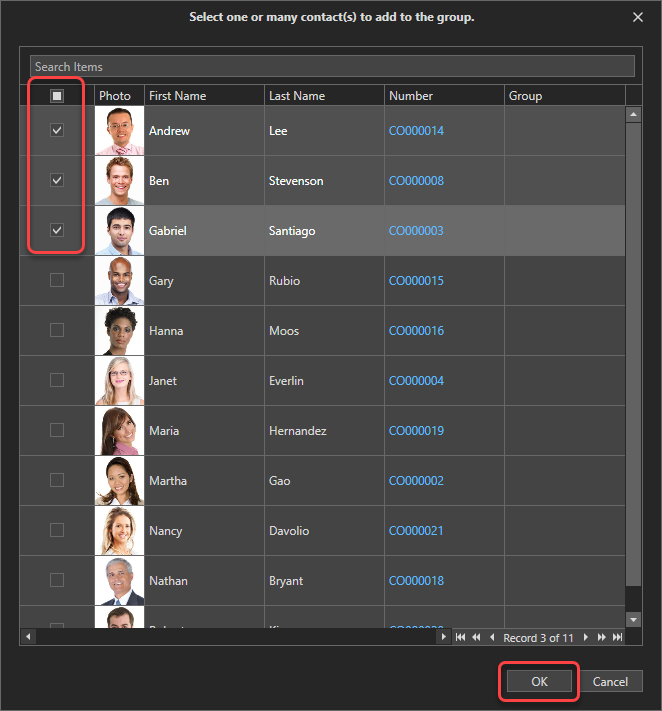
The list of contacts not already associated with a group will appear. Check the contacts you want to add to the group then click "OK":
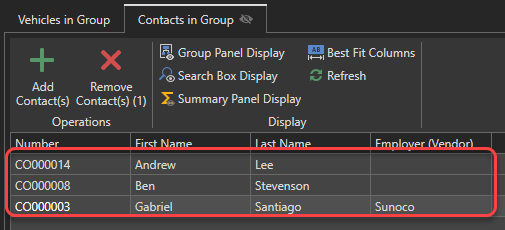
These contacts are now part of the group:
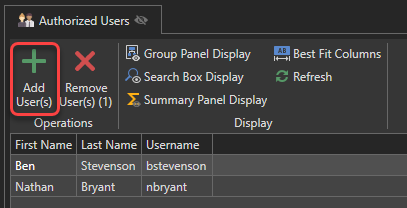
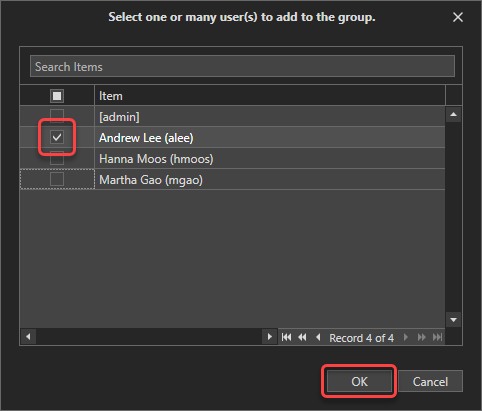
To authorize one or more users to access a group, select the group to which you want to add users to then click on the "Add User(s)" button at the top of the list containing the authorized users of the selected group:
The list of users not already associated with this group will appear. Check the users you wish to authorize to access the group then click "OK":
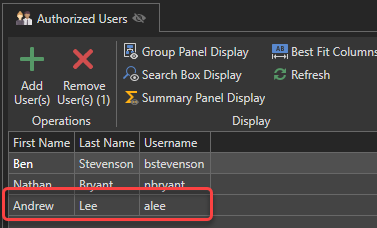
These users are now part of the users authorized to access the group: